Showing posts with label Christmas. Show all posts

29 November 2011

Advent Calendar Bunting

I have been on the lookout for an easy, fun advent-thingy. I got the idea for this one here.

I had a hard time finding an empty wall to hang it on, and I put it kind of low so that I could easily reach the goodies inside (but high enough so that the little boy could not).


In the red triangles are candy cane kisses; in the green are mint truffle kisses.

I love the idea more than I love how mine turned out. Maybe in a few years I will make another one with wool felt or even cute cotton.

For now though, my kids love it.

(I used felt glue on the numbers and cotton bias tape to string them together. Don't forget to back stitch!)

11 November 2011

Nativity Advent Calendar

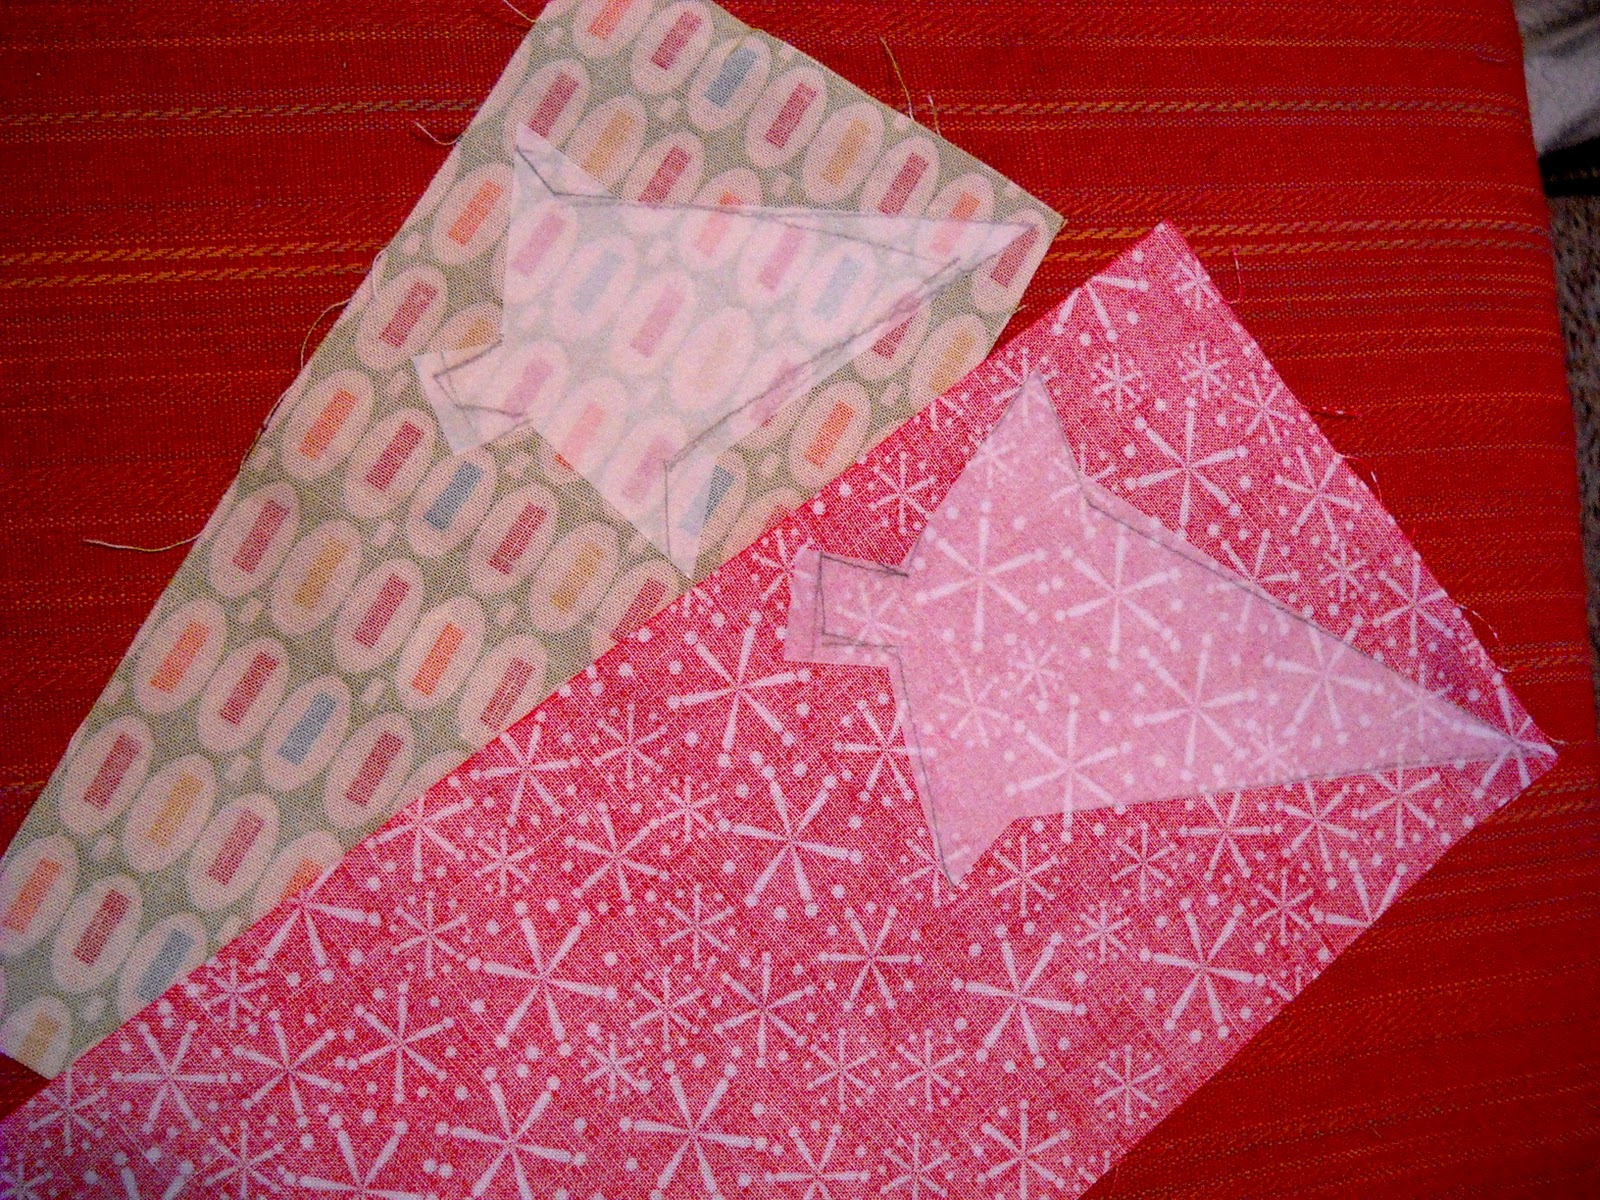
If this advent calendar looks like it's straight out of the 70's, that's because it is. I grew up with an identical version, and had to take turns with my five siblings moving Mary and Joseph along. A few years ago I was thinking about maybe stealing it from my mom. Then I realized I could make my own! My mom even still had the pattern pieces.


I love advent thingys - they add so much to the excitement of the season. But this one is even better because it not only counts down the days until Christmas, but it also keeps the focus in your home (for five minutes at least!) on the Savior.

Every day Mary and Joseph take one step closer to Bethlehem.

One thing to remember (that isn't clear in the instructions) is when you hot glue the rocks, trees, and ponds, make sure you leave an unglued-middle so that the alligator clip can clip onto the objects.


As we would move Mary and Joseph to the next spot, my mom would read a paragraph from a typed (on a typewriter!) script, depicting the events surrounding Christ's birth. It is written in simple language for small children to understand (I scanned the script and it's included in the link below).

Then on Christmas Eve, you get to take the door off the barn...


It's held up with a dowel and yarn or ribbon.

This is seriously one of my favorite Christmas time memories.
To download the pattern, instructions, and story script, click here.

19 December 2010

Simple Mod Podge Ornaments


I made these cute little ornaments for my Sunbeam class, and they were so easy that I decided to make some for my whole family as well! I got the tutorial at Brown Paper Packages (love this blog). Its very simple and here is another reason of why I love my Slihouette-I used it to cut out this vinyl but you could print the letters off your computer and mod podge them on to the ornament too. 


Because I couldn't find the exact wood ornaments she used, I hot glued some ribbon to the back and covered it with a circle of velt to make it look nicer. I got my ornaments at Hobby Lobby in the Christmas craft section---I think I cleaned them out. :)

Not too late for this cute little craft! Have fun!
PS. The font is one of my favorites so I have to share-click here to download.

11 December 2010

Sew Saturday: Advent Calendar

I don't know if this baby is exactly "easy peasy," but it's probably my favorite Christmas decoration. I've been eyeing the pattern for this since last year, but I didn't have time to put it together until now. I found the idea from Sew Mama Sew. (The pattern is a free PDF, so that's definitely a plus)

It's a great scrap buster project. I didn't buy one piece of new fabric for this. I just mixed and matched from what I had in my stash.

 The original pattern says to machine stitch around the edges, but I liked the look of hand embroidery better. The squares took forever! Luckily I had a long drive to Thanksgiving to do it.

The back is so cute! Too bad you never see it. I found this fabric at JoAnn's last year and I bought an absurd amount like 5 yards. It also lines some stockings I made. 


...The best part of course...

10 December 2010

Christmas Pillow

A few friends got together for a craft day and we made these cute Christmas pillows. They are really easy-able to make in one afternoon. Here's a picture of mine-I love how it turned out, very wimsy...(click on the link for a tutorial).


Below is a picture of the stockings I made. I used the same tutorial as Tina did in a few posts below. I went for more a "sock stocking" look. These are so simple!


02 December 2010

Yuletide Tea Towel


Another quick and easy gift idea for the holidays. 
My friend just celebrated a birthday, so I made this for her. I got the idea from Little Birdie Secrets, but put my own twist on it of course.


This was a great way to use some of my quilting scraps. I used Heat n' Bond and roughly traced out the shapes I wanted. Make sure you keep your iron on long enough and hot enough for the stuff to stick... Better yet, just follow the instructions that come with it. :)

You could do any shape you want. I kept it simple, so the stitching was easier. You could print out some clip art for ideas if you're nervous about free handing something. You could even trace a holiday cookie cutter.


Instead of using ribbon at the bottom, I used more of my scraps to make a gathered strip. (Mine was 2")  It took some time, but was easy. I just made a long gathering stitch down the middle of the strip. Then I pulled one of my strings I just sewed and gathered it until the length matched the length of my towel.


I pinned the strip along the bottom of the towel, and sewed edges into place. This doesn't have to be perfect. I liked the frayed imperfect look.


I finished by sewing around my trees and adding some cute snowflake buttons I found at Wal-Mart.  

Booyah. 
One more holiday project off my list.

01 December 2010

Mini Pine Cone Christmas Tree

Me and a friend {aka Tina} did the glitter trees found here for a T-Day craft and as much as I am totally completely in love with them (PS. Use the Poly Flake glitter brand if you do these). Alone they were just too glam for me! So I had to add a little "natural-ness" into my Christmas decor. And I love it. I saw some glittery mini pine cone trees at Target and knew I could totally make that....for cheap! They still have the glitter glam I'm going for this year but add enough natural that its a perfect balance!

Supplies: styrafoam trees of your choice, brown spray paint/acrylic paint, mini pine cones found at any craft store (got mine at Joanne's), glue gun, craft spray adhesive, glitter of your choice.

How to:paint or spray paint your trees so the white won't show through

With your glue gun start gluing you acorns on. I squirted out a line of glue, placed the acorns and so on. This takes some time, but not much. It took me 3 bags for acorns to this foot tall tree---way more than planned but they were half off so its aight...


The tree before I glittered it up. Spray this down with your craft spray adhesive and sprinkle on your glitter. Have I mentioned how its a MUST as a crafter to own a spray adhesive? Elmer's has one and it comes in a spray-paint-like can with an orange top---just in case you don't know what I'm talking about, found at any craft store.


Below is the finished product with one of my glitter trees on the left. Aren't they both sooo cute? Honestly, this is probably one of my favorite crafts I have ever made. It looks great and store bought, seriously. I'll use this for years and years to come! (I also made a smaller one because I loved it so much).

Have fun!!!

29 November 2010

Ornament Christmas Wreath

Here's a simple, easy and cheap wreath for ya! I stole this idea from Meghanne who stole it from Pottery Barn. It cost me about $7 and took about 20 minutes to make! YAY!

Supplies: green wreath (you can get these CHEAP at a thrift store-got mine for $4-just strip of the old decor), ornaments of your choice (got mine at the dollar store-5 for $1! Walmart had some too). Fishing line or floral wire.
Sidenote: I tried the fishing line first but it kept breaking and it was hard to tie. So I used some floral wire that I had from pulling apart my 80's thrift store wreath. You could even use green twisty ties. I found this alot easier.

How to: This is soooo simple and very self-explanatory but I'll go ahead and tell ya...
group together as many ornaments as you like. I loved these ones from the dollar store because they were all glittery! I did clusters of 3 and then a few little random ones, you really can do it however you like. Loop the ornaments through the wire/fishing line and twist/tie around the back. That's really it. Add as much as you like! Simple and easy peasy!

Final product.

How it looks on the door! I REALLY like this alot and even the hubs said it looked great so that has to say something...

How's the holiday decorating coming along?